
The guide
Editing a first video, one pass at a time
Editing is the stage where a project quietly stalls. The footage exists, the deadline is soft, and the timeline grows without getting closer to done. A few habits fix most of that.
Before the first cut: copy, check, and name things
The first job has nothing to do with storytelling. It is making sure the footage cannot be lost. Copy every memory card to your editing drive and to a second drive, open a few clips from each copy to confirm they play, and only then reuse the cards. One copy is a single point of failure.
Next, make one project folder and put everything for this video inside it. A simple, numbered layout works in any editing program:
ProjectName/ 01_Camera · 02_Audio · 03_Music · 04_Graphics · 05_Project · 06_ExportsRename card folders with the date and camera (for example 2026-10-02_CamA) rather than renaming individual clips, which can break the link between a clip and its sidecar files. Keep the project file and the media together so the whole thing can move to another drive in one piece.
Make the edit run smoothly: bins, proxies and a sequence that matches
Import into bins that mirror your folders, plus a few by purpose: interviews, B-roll, sound effects, selects. Clear bins are how you find the shot you need at eleven at night.
If playback stutters, try proxies: smaller, easier-to-decode copies the program uses while you cut, then swaps back to the originals when you export. Many editors can create them for you. If your machine plays the originals smoothly, you can skip this step entirely.
Set the sequence (timeline) to match most of your footage: the same frame rate and, usually, the same resolution. Changing frame rate halfway through an edit tends to shift cuts and audio sync, so decide once at the start.
Finally, watch everything once, start to finish, before cutting anything. Mark moments you like. That first viewing is the only time you will see the footage with fresh eyes.
Bin setup
Ready-to-cut checklist
-
Two verified copiesBoth play back before any card is reused.
-
One project folderNumbered sub-folders, media and project together.
-
Proxies if neededOnly when full-quality playback drops frames.
-
Matching sequenceFrame rate and resolution set once, at the start.
Three cuts, not one: assembly, rough, fine
Trying to make every edit perfect on the first pass is the slowest way to finish. Work in stages, each with a different question.
The assembly asks: what do I have? Lay the usable material on the timeline in story order. It will be far too long and that is expected. Do not trim yet.
The rough cut asks: what is the story? Remove whole sections that do not serve it, pick the best version of each moment, and get the order right. Expect to lose material you like. It is common for a rough cut to come in well under the assembly’s length.
The fine cut asks: does every cut feel right? Now you trim frames, adjust where each shot starts and ends, smooth dialogue, and tighten pauses.
Save a new version of the sequence before each stage (for example v01_assembly, v02_rough). If a bold change does not work, you can go back without undoing a hundred steps.
Cutting on action, and the J and L cuts
Two techniques make edits feel smooth rather than abrupt, and both are available in every editor.
Cutting on action. When someone moves — reaching for a door, standing up, turning their head — cut to the next shot during the movement rather than before or after it. The viewer’s eye follows the motion across the cut and barely registers the change.
The J cut. The sound of the next shot starts before its picture. We hear a voice or a noise, and then see where it is coming from. It pulls the viewer forward into a scene.
The L cut. The picture changes but the sound of the previous shot carries on underneath. A classic use is staying on someone’s words while showing the listener’s reaction.
Most editors let you unlink or offset audio from video so you can drag one edge further than the other. The names come from the shape the offset makes on the timeline.
Which cut, when
-
Straight cutPicture and sound change together. Clean, direct, the default.
-
J cutHear the next shot first. Good for entering a new scene.
-
L cutSound lingers after the picture changes. Good for reactions.
-
Cut on actionChange shots mid-movement so the motion hides the edit.
Pacing: let shots run as long as they are doing work
There is no correct shot length. A shot should stay on screen while it is still telling the viewer something, and leave shortly after.
Fast cutting builds energy; long takes build calm or tension. Many first edits use one speed throughout, which flattens everything. Vary it to match what is happening.
Trim the air. Pauses before someone answers, a breath at the start of a sentence, and walking into frame can often lose a few frames without anyone noticing.
But do not strip every pause. A beat of silence after an important line gives it room to land.
Test pacing by watching at normal speed without stopping. Scrubbing and looping make everything feel slower than it is.
If you find yourself skipping a section, your audience will too. That section is a candidate for cutting or shortening.
Sound: dialogue first, then music, then the mix
Viewers tolerate imperfect pictures far more readily than hard-to-hear speech, so the sound pass deserves real time.
Dialogue. Make speech consistent from clip to clip. Use short audio fades at every edit to avoid clicks, and fill gaps with a stretch of the room’s background sound if you recorded some.
Music. Place it after the edit works without it; music can hide pacing problems rather than solve them. Lower it under speech so words stay clear, and look for natural phrase points to start and end.
Licensing. A song you bought or stream is generally not licensed for use in your own published video. Use music you have permission for: tracks you licensed for this use, music offered under terms that clearly cover your project, or something you made. Read the terms, keep a copy of the licence, and expect platforms to mute or claim videos with unlicensed music. This is general information, not legal advice.
Levels. Watch the meters. Nothing should hit 0 dBFS. For online video, many platforms normalise loudness to roughly −14 LUFS integrated, but targets differ and change, so check the platform you are publishing to.
Audio tracks
A tidy track layout
-
A1–A2 · DialogueThe priority. Even, clear, no clipping.
-
A3 · Room sound & effectsFills gaps and makes cuts feel continuous.
-
A4 · MusicLicensed, and ducked under speech.
-
Mix busWatch the meter; leave headroom below 0 dBFS.
Colour: correct first, grade second
Colour correction is about consistency and accuracy. Fix exposure so faces are visible, neutralise white balance so whites look white, and match shots in the same scene so a cut between cameras does not jump in colour.
Colour grading is the creative layer on top: warmer, cooler, softer contrast, a particular mood. Grading uncorrected footage tends to amplify the mismatches instead of hiding them.
Correction makes the shots agree with each other. Grading decides what they agree on.
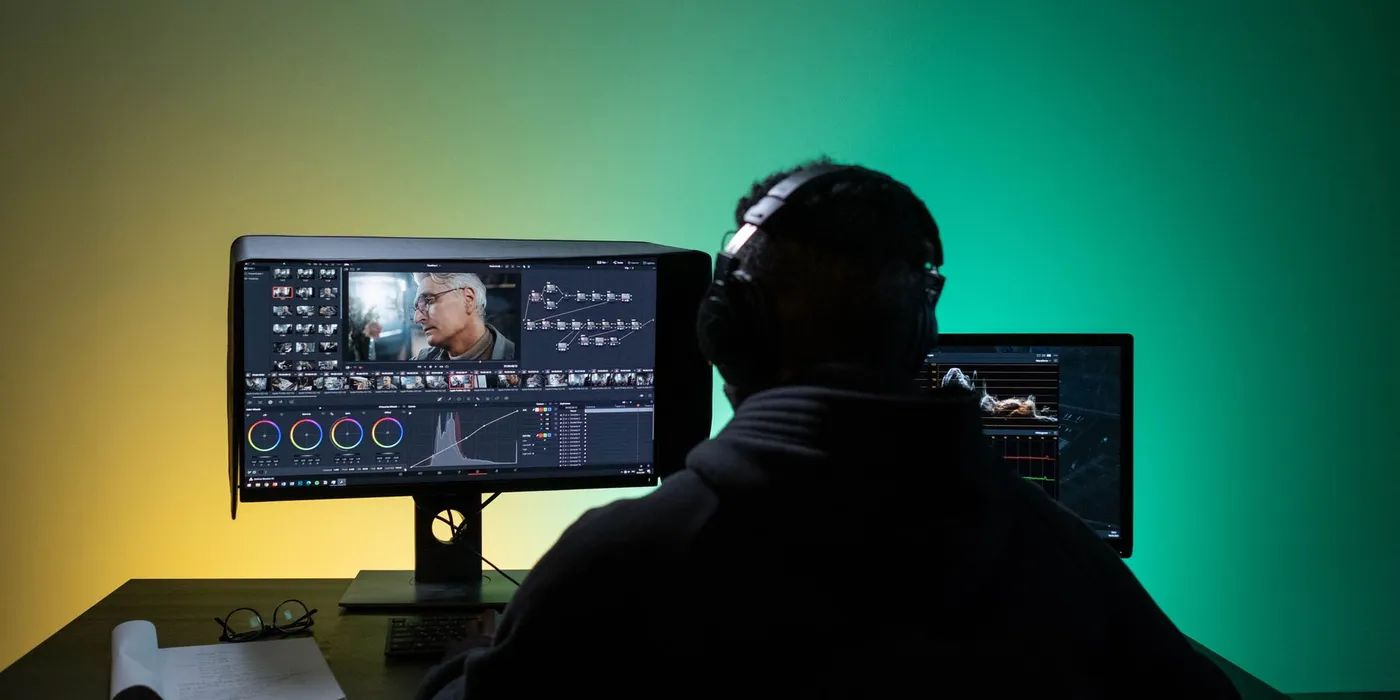
Use the scopes. A waveform shows brightness and a vectorscope shows colour, independent of how bright your screen is set or how the room is lit. Glance at them before trusting your eyes.
Go gently. Small adjustments usually look better than heavy ones, and skin tones are where overdone colour shows first.
Check elsewhere. Watch the result on a phone or a second screen. If it only looks right on your monitor, it probably needs another pass.
Titles, captions and export
Titles. Use one or two typefaces, keep text inside the frame’s safe margins, and leave each on screen long enough to read twice. Check spelling of every name.
Captions. Captions make speech accessible to deaf and hard-of-hearing viewers and to anyone watching without sound. Most platforms accept a separate caption file such as SRT, which viewers can switch on or off; burned-in captions are always visible but cannot be turned off. Automatic transcription is a useful start, but proofread it: names, numbers and specialist terms are where it slips.
- Format. An H.264 MP4 with AAC audio is a widely accepted starting point.
- Resolution and frame rate. Match your sequence; do not convert at the last step.
- Platform guidance. Video sites publish recommended upload settings. Follow the current ones for where you are posting.
- Test first. Export a short section, check sound sync and colour, then export the whole thing.
Keep a high-quality master export as well as the upload file. It saves re-exporting later.
Feedback, and knowing when to stop
After a few days inside an edit you can no longer see it as a newcomer does. Show it to one or two people who have not seen the footage. Watch them watch it rather than asking for a verdict afterwards: where do they lean in, where do they look away, what do they ask about?
- Take the problem, not always the fix. “I got lost here” is valuable. Their suggested solution may or may not be the right one.
- Set a finish line in advance. A date, or a fixed number of review rounds, keeps polishing from becoming the project.
- Know the signs. If recent changes are swapping one acceptable choice for another, the edit is done.
- Archive cleanly. Keep the project folder, the master export and the music licences together, on two drives.
Then publish it. Your second edit will benefit from everything this one taught you, and it can only start once this one is finished.